Saturday, 25 August 2012

Crocheted Gadget Cozy Tutorial

First: A reminder- I am still doing a giveaway of one of my bird's nest necklace! Please go to www.facebook.com/woodlandowl for more details, and to enter through the GIVEAWAY tab! 


This one's pretty simple and straightforward- a crocheted phone cozy. I needed something to protect my phone, and I love crocheting so this happened!


Recommended yarn weight: Worsted
Recommended crochet hook size: 4.5-5mm

Row 1: Crochet a chain that is as long as your cellphone or gadget. (For me, this was about 9 chains).
Row 2: single crochet across chain, making 3 sc in the last chain. Do NOT turn.
Row 3: continue sc across the opposite side of the chain, making 3 sc in the last chain. Do not turn.

Continue sc into each sc, and keep going until the cozy is as long as your cellphone!  You will basically single crochet into a spiral as it builds the length of the cozy.

When you have reached the desired length, stop in the middle and chain about 6-7 to form a loop that will be part of the button enclosure. Continue along with your single crochets as normal.

This is a quick, easy little project that you can do in front of the TV, yet fun enough to keep your hands busy.

Tuesday, 14 August 2012

Bird Nest Necklace Giveaway!

 I just love making these bird nest necklaces! When I reach 50 likes on my facebook page (Woodland Owl Trinkets) I will be doing a giveaway :) Go to www.facebook.com/WoodlandOwl :)


Friday, 10 August 2012

Dahlia Coaster Pattern

I recently crocheted some colorful coasters for a friend's bridal shower, and I thought I would share the pattern! Please note- this is the first pattern I have written, and may have lots of kinks in it. Let me know if you find any discrepancies. I don't know proper pattern writing etiquette, so I just made it sound like something I would read off a pattern! Enjoy!


UPDATE: I am doing a giveaway of one of my birds nest necklaces at 50 likes....so far only 12 away! Go to www.facebook.com/woodlandowl :)

Dahlia Coaster Pattern: 

Hook size: 4.5mm or 5.0mm (4.0 will do if you want a smaller and tighter coaster).
Gauge: Not required.

Notes: Unfinished DC: YO, insert hook, pull up a loop, YO, pull through 2 loops. Keep remaining loops on hook, and continue until the unfinished dc in petal. You may have more than 2 loops on your hook depending on how many unfinished DC you have already completed in your petal.

Basically, to make an unfinished DC, ignore the last (YO, pull through 2 loops) and leave the loops on the hook instead. To close it, YO, pull through all loops.


To begin: Make a magic circle, chain 1.

Row 1: 7 sc into magic circle, join with a slip stitch

Row 2: Ch3. (Make 2 unfinished DC, pulling through all loops at the end of the last unfinished DC) into the same stitch as slip stitch. Chain 3. *3 unfinished DC into the next stitch, pulling through all loops at the end of the 3 unfinished DC. Chain 3* Repeat * to * 6 more times. 8 petals total. End row with a slip stitch into the top of the first petal.

Row 3: Chain 3. (Make 2 unfinished DC, pulling through all loops at the end of the last unfinished DC) into the first chain 3 space. Chain 3. *3 unfinished DC into the same chain 3 space, pulling through all loops at the end of the 3 unfinished DC. Chain 3* Repeat * to * twice into each of the remaining chain 3 spaces. (16 petals total in this row, 2 in each chain 3 space). Slip stitch into the top of the first petal of this round.

Row 4: chain 2. 3 hdc in the first chain 3 space. 4 hdc into the remaining chain 3 spaces. Slip stitch at the top of the beginning chain 2.

Row 5: Sip stitch into each hdc, bind off. (This makes the coaster sturdy, nice and neat)


This pattern is for personal use only.  Please do not sell this pattern or items made from this pattern. Thank you :)

Monday, 14 May 2012

Covered Button Tutorial!


A bunch of my friends have said that they really liked the earring so have been making so I decided to post a tutorial! I am thinking about putting these on Etsy as well :)


You will need:
-Scrap fabric
-Scissors
-Some sort of strong glue
-Cover button front and backs
-Cover button tools (The mold is used to hold the button and the pusher helps with securing the back of the button) I found these at Walmart for 2 bucks. 
-Earring posts


Step 1: Cut out a circle from the fabric slightly larger than the button. Make sure the design is in the middle!


Step 2: Place the fabric right side down into the button mold, making sure the design stays in the middle. Then, put the button upside down in the mold, it'll feel tight.


Step 3: take the back of the button and place it on top of everything! Then, use the pusher to push the back of the button into the button. You might have to push really hard, especially if the fabric is thicker. 


Step 4: My fav part.... pop it out of the mold!


Step 5: Glue the posts on and you have earrings!


You can get really creative with these... Make earrings, rings, necklaces, anything you want really!


Thursday, 29 December 2011

knitting eye candy :)
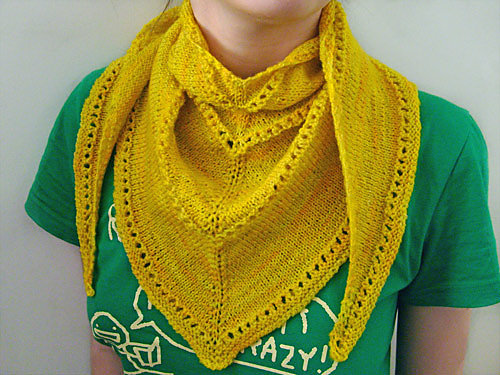

we've been in the new place for about a month now, and we are really loving it! half of our stuff is still in the garage, just waiting to be unpacked. Christmas was just here, and i enjoyed giving my knitted gifts to family and close friends. little noah isn't so little anymore. he's crawling and pulling himself up on things, and getting into things he isn't supposed to. little stinker.

i have yet to get together with some friends who are still in school and are on winter break. you know who you are ;) hopefully we will be able to get together before school starts up again.
i've recently started knitting more, i still love crochet though :)

here are some yummy things i want to make in the new year

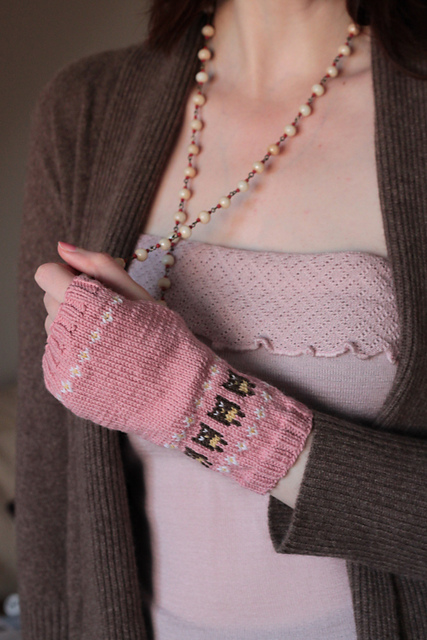
Owl Wrist Warmers by knitting pony


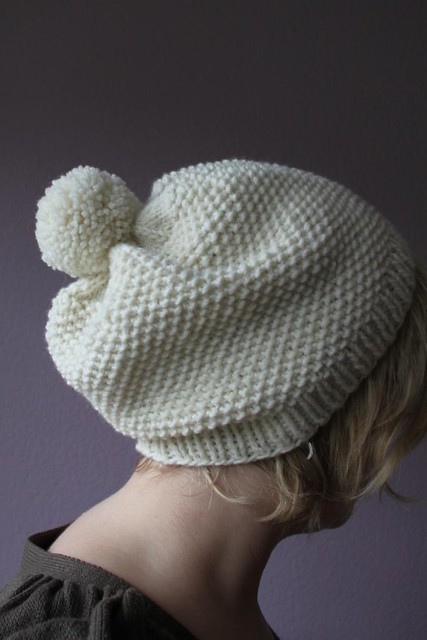
Pompom and seeds hat by Carolin Gall


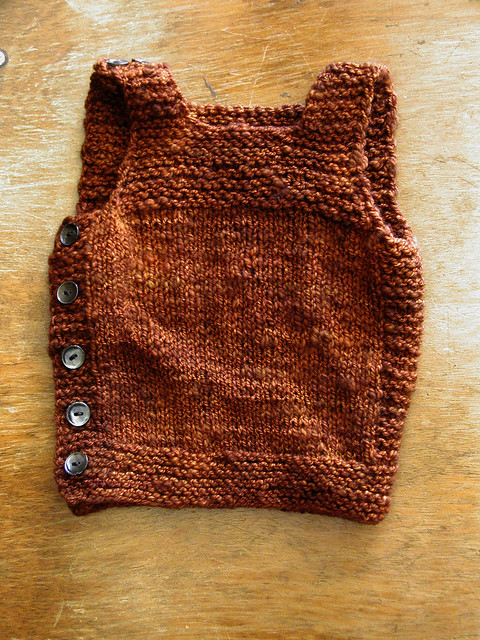
i also want to make a sweater for myself, a sweater vest for the hubby, and a baby vest for noah. maybe this one?

Cobblestone vest by Nikol Lohr

i'm so excited to knit and crochet... i only started crocheting last year, and knitting this year so i've still got lots to learn. well, i'm off to knit some more now! 

Monday, 18 July 2011

Things about Being a Mom, and Pincushions

Cool things about being a new mom trying to figure out how to take care of a new baby: 

  1. I have an excuse to not shower frequently. If I don't shower frequently, it's no longer a taboo, and I won't feel bad about it.
  2. People think that I'm growing my hair long. I'm not doing it on purpose...I just haven't gotten around to cutting it. But when I do, I'm chopping at least 6 inches off of it. 
  3. I can eat a lot and not be full, so I can pretty much eat whatever I want, whenever I want. Why? Because lactating mothers burn energy. Fast. Who want to go for all-you-can-eat?
  4. I get to stare at a cute baby all day. 
  5. I'm learning how to be patient and less selfish. 
  6. Professors are so much nicer to me. I've gotten 4 extensions for my thesis, and I now have the rest of the summer to finish it. The original deadline? May 30th. 
  7. I'm learning how to prioritize. (It's more important to sleep than it is for me to go cut the hangnail that is catching onto the blankets). 
  8. I value sleep so. much. more. I am never taking it for granted, ever again. Goodbye, 13 hour long sleeps. 
  9. Seeing my husband's physical characteristics in Noah... it's like me and him mushed up into one little itty bitty person...melts my heart <3
  10. Watching this little person that God has entrusted into our lives grow and develop every day. 

Tough things about being a new mom trying to figure out how to take care of a baby:

  1. Coincidently, every time I change into a new shirt, it some how gets dirty right away. It's either spit up, drool, or leaked milk. 
  2. Cleaning poop. (Refer to the picture below). Haha, just kidding. I make Hudson clean all the poops so it's not really that tough. For me, anyways. 
  3. My patience is being tested. It takes a lot of patience to wait for the baby to fall into a deep enough sleep to be put down into his bed, and even more when he wakes up and I have to start from square one. 
  4. I am always hungry, and I seem to never be full. Strange. 
  5. Good-bye sleep. If I wake up 4 times at night, it's considered a good night. 
  6. Figuring out what a screaming, crying baby wants at 3 in the morning. 
  7. Trying to juggle caring for a baby, and keeping in touch with important friends and family. This is tough, but know that I do try to make an effort to keep in touch with you. (One of the reasons I started this blog). 
  8. Getting peed on. It's gross. A warm stream of urine aimed straight at my torso, dripping down my pants? Better put that diaper on fast! 
  9. Having to hold my pee in when I'm putting Noah to sleep. 
  10. Learning how to trust that everything is going to be okay. I thought it was hard to not worry before I became a mom, and now I realize that it's even harder to not worry as a mom. 


And...because this blog is named "stuff made by jessica" ..... Here's a picture of a pincushion I made yesterday!! 


Saturday, 16 July 2011

New Blog!

Ever since I became a mommy, I haven't been able to keep in touch with many of my friends, and I hope that this blog will help me do that. I hope that I continue to smoothly transition into my role of motherhood, so that I can start keeping in touch with my friends more often. (If you're reading this, you probably know who you are <3).


Being a new mom is definitely difficult. I've had to learn how to overcome my lack of self-confidence and trust that I will learn how to take care of this new little person in my husband's and my life. I think that this is one of the biggest changes that I have had to make in my life. It's been a positive one though, one little smile from Noah makes all the sleepless nights worth it.

Over the last few months, I've tried making so many new things, and I've done many new crafts. I guess I've become more crafty because I like to de-stress by making things. It still amazes me that yarn can turn into literally anything you want, and that pieces of fabric can be sewn together to make a plethora of things. Apparently, you can even crochet a smart car. (http://www.treehugger.com/crocheted-smart-car.jpg) 

Check this blog out, if you don't believe me: http://whatnottocrochet.wordpress.com/ Be warned...some of these things aren't very pg-rated. 

Some of my crafts have turned out well, and some things ended up in the garbage. I'm starting a new blog mostly to share my crafty adventures, as well as to keep my friends updated... so here goes! 

Today I sewed my husband a phone case for his beloved android phone... love the pirate themed fabric. It's padded with fleece and lined with fuzzy fabric. It even has a pocket on the front for cards.


I have other crafts up my sleeve... stay tuned.  Up next: pincushions and curtains!